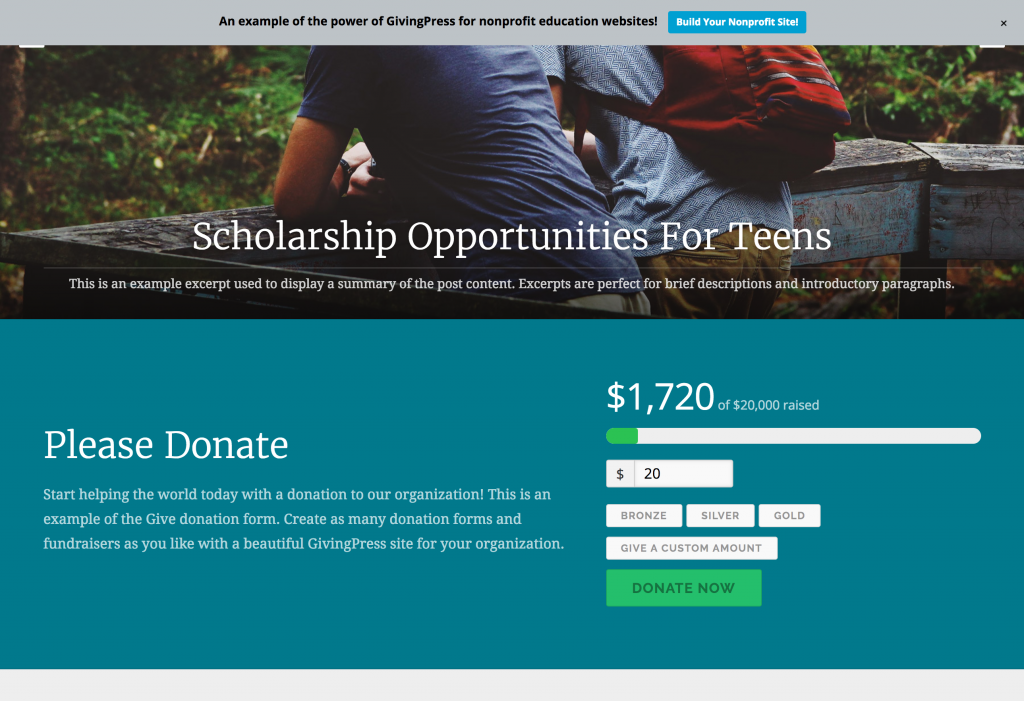
Most nonprofit organizations and charities are community funded, relying heavily on donations; we believe that it should be as easy as possible for site visitors to donate to the cause of their chosen organization. GivingPress uses a WordPress-compatible and very popular donation plugin called Give. This donation system allows for an easy process for both organizations and their donors. One design element of GivingPress is its built-in Donations Section on the Home Page. This is a standard and popular area for donations; however, it IS possible to display your donations section on a different page. You will learn how to do this as well. (This tutorial provides very basic guidelines to create a simple donations page; for further information on the Give plugin or to learn additional features, visit https://givewp.com.)
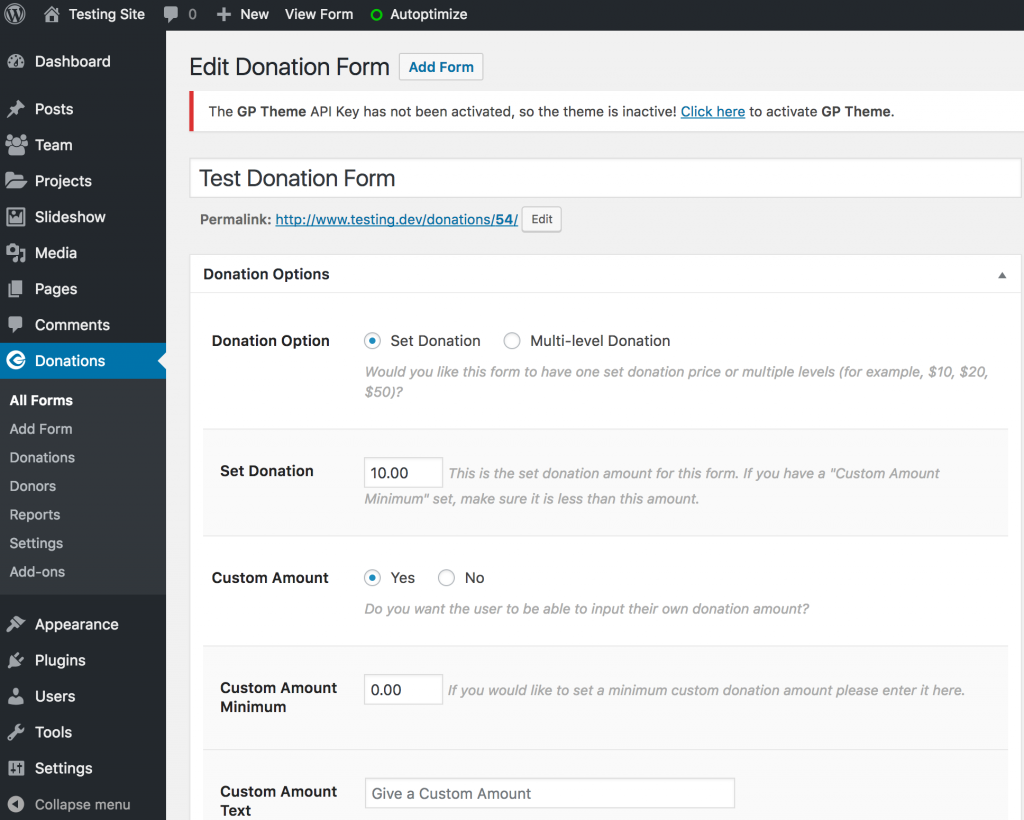
- Go to Donations > Add Form within WordPress admin.
- Fill out fields in your new donation form, then Publish. (For a very basic donation form, you can complete the required fields under the Donation Options section; the rest can be left to default. If you choose, the additional fields will provide you with a more advanced form; for example, you can set a goal and display a progress bar or determine how donation fields will be displayed.)
- Donations > Settings > Payment Gateways
- Enter your PayPal account information by which to receive payments. (By default, Give uses PayPal as your payment gateway; if you have another preferred method of receiving payment, you can purchase add-ons through Give directly.)
- Save Settings
- Within Site Builder > Home Page > Donation Section > Add a Widget
- For GivingPress Pro Theme Customers: Within Appearance > Customize > Home Page > Donation Section > Add a Widget.
- For GivingPress Pro Theme Customers: Within Appearance > Customize > Home Page > Donation Section > Add a Widget.
- Select Give – Donation Form.
- Title your widget.
- Select the form you recently created under Give Form.
- Save & Publish.
If you want to display donations somewhere other than the Home Page:
- Within customizer > Home Page > Display Settings
- Uncheck Display Donation Section box; Save & Publish.
- Create a Donation Form if you haven’t already done so (see steps 1-5 above).
- Donations > All Forms > Copy form shortcode within Shortcode field (see image below).

- Within WP admin or Site Builder, select the page you want your donations to be on (or create a new page just for donations).
- Open Editor > paste shortcode.
- Save & Publish.