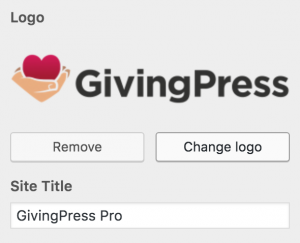
By default, your GivingPress Pro theme will display the Site Title within the header. However, you can add a Logo following these simple instructions.
As with most changes to the appearance of your website, the options can be found within the Customizer by navigating to Appearance → Customize within the WordPress admin of your GivingPress website.
Adding A Logo
- Navigate to Appearance → Customize → Site Identity within the admin.
- Click the Select logo button.
- Upload your logo image.
- Click the Save & Publish button.
Your logo should now display in place of the Site Title. Additionally, you may choose the alignment of the Logo or Site Title under the Logo & Site Title Alignment options.
Changing The Site Title
- Navigate to Appearance → Customize → Site Identity within the admin.
- Replace the text in the Site Title field.
- Click the Save & Publish button.
Note: The Site Title will be displayed in your header if a logo has not been added. Most importantly, the Site Title is the title of your site that is displayed in Google search results. Keep the title short and descriptive for SEO purposes.
Logo Image Specifications
We recommend uploading a transparent .PNG image file for the highest quality. However, .JPG or .GIF files are acceptable as well. The logo height will not exceed 80 pixels within your site, but we recommend uploading an image with a height of 160 pixels for a crisp display on retina devices.
